How to build a remote-controlled car
Hey everyone,
about three weeks ago I ordered this 4-wheel robot car kit from Amazon.
The first goal I have set for myself is to be able to control the car with a PS3 controller. To control the motors a L298N H-Bridge is used.
An H-Bridge can switch the polarity of the voltage that is applied to a load. In our case it will provide the voltage for the motors and allows the motors to run forwards as well as backwards.
The H-Bridge is controlled by a raspberry pi.
The following diagram shows how the system is connected.

There are two things that I want to mention here. First of all the battery I use is a Li-ion battery with 7.4V. You can get it here from Amazon.
Why 7.4? The DC-Motors are rated for 6 Volt, however the H-Bridge has a voltage drop of 1.4 Volt, so it will provide 6 Volts for each of the motors.
Second, I set the 5-Volt-Select jumper on the H-Bridge. That means you do not have to provide additional 5V for the H-Bridge to operate. It will use the main power supplied from the battery. If you do not want to use the same power supply for the motors as well for the H-bridge module you have to remove the jumper and supply 5 Volts to the remaining power pin on the bridge. Make sure to short the ground levels of both power supplies and the raspberry pi.
If you want you could also power the raspberry pi from the battery, you just have to use a step-down module. The raspberry pi needs 5 Volts to operate. So a step-down module like the LM2596 is suitable. Connect the rasperry pi in parallel to the H-bridge.
You can also use four motors if you have a four wheeled car. Just wire two motors in parallel for each side. The car then will be steered like a tank.
Make the motors move
Next step is to write code that controls the motors. Therefor we have to determine how we can make the motors move.
With the four “In”-pins of the bridge we can control the spin direction of a motor. The pins In1 and In2 control the spin of the left motor(Out1) and In3, In4 control the spin of the right motor (out2). See the following table for detailed information.
| In1 | In2 | Motor(left) |
|---|---|---|
| HIGH | LOW | counter clockwise |
| LOW | HIGH | clockwise |
| HIGH | HIGH | Short circuit |
| LOW | LOW | Short circuit |
| In3 | In4 | Motor(right) |
|---|---|---|
| HIGH | LOW | counter clockwise |
| LOW | HIGH | clockwise |
| HIGH | HIGH | Short circuit |
| LOW | LOW | Short circuit |
A clockwise spin makes the wheel turn backwards and and a counter clockwise spin makes the wheel turn forward.
To control the speed of a motor, you have to provide a PWM signal to its “Enable”-pin.
The higher the duty cycle of the signal the higher the speed of the motor. A duty cycle of 100 (so always HIGH) corresponds to the maximum speed while a duty cycle of 0 (always LOW) will turn off the motor.
So now that we know how to move the motors, we should think about how to steer the vehicle. We do not have a steering wheel for this, do we?
The only thing we could do to solve this problem is to steer the vehicle like a tank.
So to turn left, the right motor have to move faster than the left one. For a right turn vice versa.
The code for the motor module can be found here.
Use the PS3-Controller
To make the development a bit easier we first use the ps3-controller with a cabled connection. The gamepad operates as a regular HID device in USB mode.
I will make use of the pygame-library to read the inputs of the gamepad. First of all the button codes for the gamepad had to be figured out with painstaking work.
To make it a easier for you, I listed the button codes as well as the axes codes here:
| Button | Code |
|---|---|
| L1 | 4 |
| L2 | 6 |
| L3 | 11 |
| R1 | 5 |
| R2 | 7 |
| R3 | 12 |
| Triangle | 2 |
| Circle | 1 |
| X | 0 |
| Rectangle | 3 |
| Up | 13 |
| Right | 16 |
| Down | 14 |
| Left | 15 |
| Select | 8 |
| Start | 9 |
| PS | 10 |
| Axis | Code | Value range |
|---|---|---|
| Left X (Joystick) | 0 | [-1, 1] |
| Left Y (Joystick) | 1 | [-1, 1] |
| Right X (Joystick) | 3 | [-1, 1] |
| Right Y (Joystick) | 4 | [-1, 1] |
| Left (Shoulder) | 2 | [-1, 0] |
| Right (Shoulder) | 5 | [-1, 0] |
In the main loop of the code we are waiting for a pygame event. Such an event can be a push of a button or a motion of a axis.
With the function get_button() or get_axis() we can get the status/value of a button or an axis. We then have to normalize these values that they can work as the speed or steering angle of our motor module.
You can find the code here. Note that in my implementation the rectangle button will stop the execution of the program.
Wireless connection of the gamepad
For the bluetooth connection, we will use sixpair.
Out of the box the Dualshock3 (or the previous SIXAXIS) does not support the standard Bluetooth pairing procedure. Sixpair searches for PS3-Controllers that are connected via USB and tells them to connect to a new Bluetooth master. For more information, click here.
First of all we have to install the prerequisites:
$ sudo apt-get install bluetooth libbluetooth3 libusb-dev
Next step, download and install sixpair. You can use a new directory for that.
$ mkdir ~/sixpair
$ cd ~/sixpair
$ wget http://www.pabr.org/sixlinux/sixpair.c
$ gcc -o sixpair sixpair.c -lusb
Now, connect your gamepad to the raspberry pi via a USB cable. Once you have done that, execute sixpair:
$ sudo ./sixpair
After that we can connect the gamepad via bluetooth. Please let the cable connected for now, as this is needed for the connection process.
$ bluetoothctl
$ agent on
$ default-agent
$ scan on
You should now see your gamepad listed. If not, unplug and plug in your cable again. You should also see the MAC-Address of the gamepad. With this information we can establish a connection.
For the next step you should unplug the cable and make sure, that the gamepad is turned on.
$ scan off
$ connect <MAC-Address>
$ trust <MAC-Address>
$ quit
Now the gamepad should be connected to the raspberry pi via bluetooth. You do not have to go through this process every time. It should be enough to push the PS-Button now to connect to the raspberry.
TLDR
The code for the project can be found here.
You need python3 to run the code. To instal the needed libraries run:
$ pip install -r requirements.txt
To start the script, run the following command:
$ python3 ./src/start.py
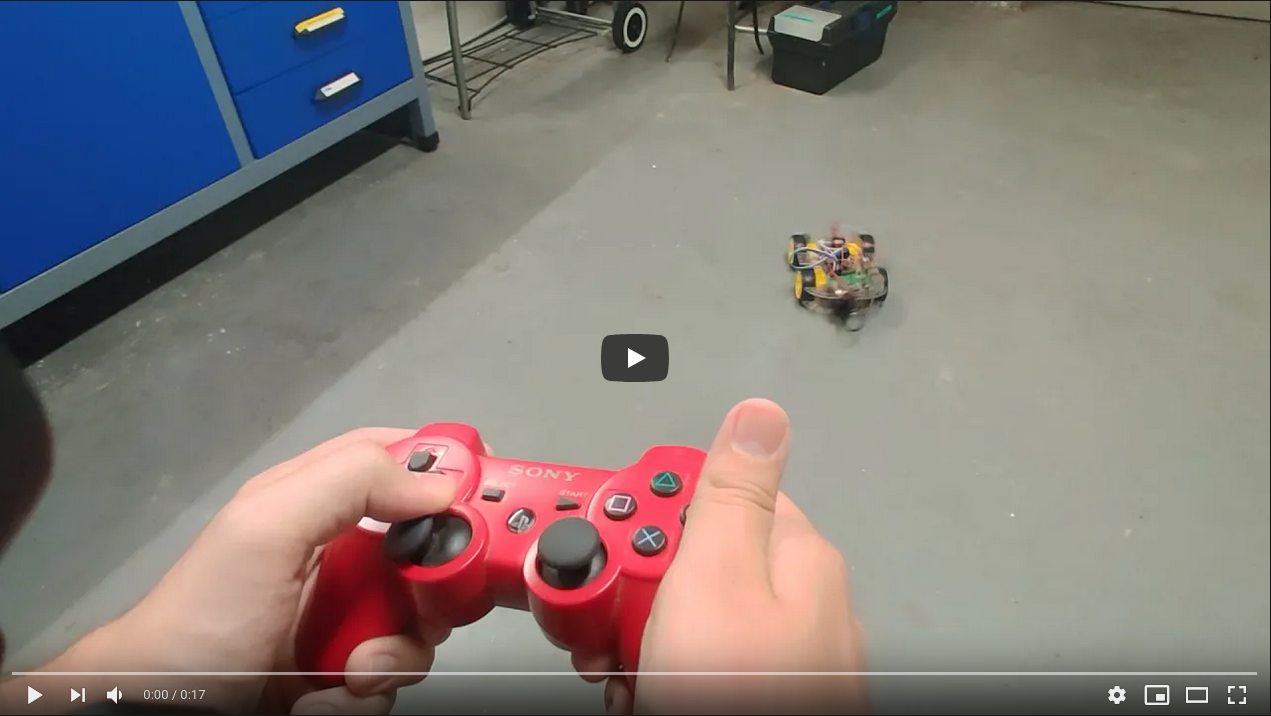
Video of the remote-controlled car